Quick answer: Build this organizer from six plywood panels, reinforced with six small wooden glue blocks. With plywood measuring exactly ½ inch thick, it finishes at 12 inches wide × 8 inches deep × 6½ inches high. A low front gives access to two compartments for small notebooks and stationery. Measure your plywood before cutting—the front, sides, and divider depend on its actual thickness.
Skill level: Beginner, provided you can make square cuts or obtain accurately precut panels.
Use: Indoor, freestanding desktop storage—not a carrying box, shelf, or load-rated structure.
Plan status: Original dimension-checked design, not a physically tested build.
1. Check that the organizer fits your stationery
The larger compartment has a nominal clear footprint of 7½ × 7 inches; the smaller one measures 3 × 7 inches. These dimensions assume exactly ½-inch plywood and exclude the reinforcing blocks at the corners.
The side walls, back, and divider rise 6 inches above the base. The front rises only 2 inches, making contents easier to reach.
Before buying material:
- Arrange your intended contents within a 12 × 8-inch rectangle on your desk.
- Check notebook width, thickness, and the direction in which you want to store it.
- Allow room for your fingers, not just the stationery itself.
- Remember that the glue blocks occupy ¾ inch along each adjoining wall at their locations.
This is a shallow organizer, not a deep pencil cup. Use the narrow compartment for stationery laid flat or for a separate small container that fits. Keep heavy or tall contents out of the initial setup, and check that nothing makes the organizer unstable.
No build-time or cost estimate is given: precut material, available tools, and the selected adhesive and finish will determine both.
2. Understand the dimensions and panel arrangement
All upright panels sit on top of the base.
The back spans the full width. The sides meet its front face. The low front fits between the sides, while the divider fits between the front and back.
Top view—½-inch plywood, dimensions in inches, not to scale:
                     12 overall
          ┌────────────────────────────┐
          │       BACK: ½ thick        │
          ├─┬─────────────────┬─┬────┬─┤
          │ │                 │ │    │ │
          │ │  NOTEBOOK BAY   │ │    │ │
8 overall │ │   7½ clear      │ │ 3  │ │
          │ │                 │ │clear│ │
          │ │  7 clear depth  │ │    │ │
          │ │                 │ │    │ │
          ├─┴─────────────────┴─┴────┴─┤
          │ FRONT: ½ thick, 2 high    │
          └────────────────────────────┘
           ↑                   ↑     ↑
        left side           divider right side

Width check: ½ + 7½ + ½ + 3 + ½ = 12
Depth check: ½ front + 7 clear + ½ back = 8
Side elevation:
                8 overall depth
          ┌────────────────────────┐
          │                        │
          │     side: 6 high       │
          │                        │
          └────────────────────────┘
          ══════════════════════════  base: ½ thick

          Overall height: 6 + ½ = 6½
          Front panel height above base: 2
Choose flat, uncoated plywood with sound edges. Plywood’s cross-laminated construction provides good dimensional stability along its length and width, but that does not make every panel flat or every exposed edge suitable for bonding. Inspect your actual material. (research.fs.usda.gov)
Do not substitute solid boards without reconsidering the construction. Moisture-related dimensional changes can stress bonded assemblies, especially where grain directions differ. (research.fs.usda.gov)
3. Use the checked cut list and leave cutting allowance
The following are finished dimensions, not rough blanks.
| Part | Quantity | Finished size with exactly ½-inch plywood |
|---|---|---|
| Base | 1 | 12 × 8 inches |
| Back | 1 | 12 × 6 inches |
| Sides | 2 | 7½ × 6 inches |
| Front | 1 | 11 × 2 inches |
| Divider | 1 | 7 × 6 inches |
| Solid-wood glue blocks | 6 | ¾ × ¾ × 1½ inches |
The six blocks stand vertically on the base: four inside the outer corners and two where the divider meets the back, one on each side.
Worked sheet layout
For the plywood parts, start with a sound 24 × 24-inch panel. This example assumes:
- A ¼-inch trimming allowance at each outside edge.
- A hypothetical ⅛-inch saw kerf—the material removed by the blade.
- Finished-size cutting, without additional rough-cut oversizing.
After trimming, the usable rectangle is 23½ × 23½ inches. Arrange the parts in three horizontal bands:
| Band | Height | Parts arranged across the band |
|---|---|---|
| A | 8 inches | Base, 12 wide; front, 11 wide, cut from the adjacent area |
| B | 6 inches | Back, 12 wide; one side, 7½ wide |
| C | 6 inches | Second side, 7½ wide; divider, 7 wide |
Band A needs 12 + ⅛ + 11 + ⅛ = 23¼ inches, including a separating cut and a final cutoff. The three bands need 8 + 6 + 6 + 3 × ⅛ = 20⅜ inches, including their cutoff kerfs. Both fit within the trimmed panel.
For the blocks, a straight, accurately sized ¾-inch-square × 12-inch strip provides allowance: six 1½-inch blocks plus five hypothetical ⅛-inch separating kerfs total 9⅝ inches.
These are layout assumptions, not claims about your blade. Measure its actual kerf on scrap. If rough-cutting oversized pieces, redraw the layout with those allowances. Mark each new cut from a finished reference edge rather than assuming the previous cut removed exactly the expected amount.
4. Adjust the plan for actual plywood thickness
Let t be your measured plywood thickness, in inches. Keep the base and back unchanged, then calculate:
| Part or space | Formula |
|---|---|
| Side depth | 8 − t |
| Front width | 12 − 2t |
| Divider depth | 8 − 2t |
| Overall height | 6 + t |
| Larger compartment width | 7½ |
| Smaller compartment width | 12 − 3t − 7½ |
Mark the divider’s left face at t + 7½ inches from the base’s left edge.
For example, if your sheet measures 0.47 inch:
- Side depth: 7.53 inches
- Front width: 11.06 inches
- Divider depth: 7.06 inches
- Overall height: 6.47 inches
- Smaller compartment width: 3.09 inches
These calculated decimals explain the geometry; they are not a demand for hundredth-inch hand-saw accuracy. Cut the base, back, and sides first, then confirm the front and divider against the actual dry-fitted openings.
Measure thickness at several locations. If it varies noticeably, use the actual adjoining pieces to establish fit rather than relying on one measurement.
5. Gather tools and make the cutting setup safe
You will need:
- Ruler or tape measure, pencil, and square.
- Calipers, if available, for thickness checks.
- A suitable hand saw or jigsaw—or accurately precut panels.
- Stable work support and work-holding clamps.
- Glue-up clamps with enough capacity for the 12-inch width.
- Scrap cauls to protect surfaces and spread clamp pressure.
- Sanding block, abrasives, and suitable dust collection.
- Interior wood adhesive and, optionally, an interior finish.
- Eye protection and other protection specified by your tools and materials.
If using a jigsaw, read the manual for your exact model. The Bosch JS120 manual illustrates relevant precautions: secure the work to a stable platform, wear eye protection, keep clothing clear of moving parts, and disconnect the battery before adjustments. It is not a substitute for another saw’s instructions. (boschtools.com)
Before each cut, confirm that:
- The work cannot slide or tip.
- The blade’s full travel clears the bench, clamps, and anything underneath.
- Your hands remain outside the cutting path.
- The offcut will not fall unexpectedly or trap the blade.
- The blade and settings are appropriate for the material.
Obtain precut glue blocks if you cannot safely hold the narrow strip while cutting. Never pinch a tiny piece beside a powered blade.
Control dust at its source during cutting and sanding. OSHA identifies local exhaust ventilation as the primary wood-dust control; its workplace guidance provides a useful principle for home workshops, not a claim that every workplace requirement applies identically at home. (osha.gov)
6. Dry-fit, then glue the organizer in stages
This plan uses butt joints: a panel edge meets another panel’s face. The corner blocks add face-to-face bonding surfaces and help locate the panels. They do not establish a tested load capacity.
Prepare clean, square mating surfaces. Good adhesive bonds depend on sound surfaces and close contact; extra glue is not a substitute for correcting poor fit. (research.fs.usda.gov)
- Label and inspect the parts. Identify inside faces and bottom edges. Check that the two sides match.
- Dry-fit the complete shell. Place the back at the base’s rear edge, sides against its front face, and front between the sides.
- Check square and flatness. Measure the shell’s two diagonals: they should match. Confirm that the base sits without rocking.
- Fit the divider. Position its left face 7½ inches from the left side’s inside face. Trim only if necessary for close contact without forcing the shell apart.
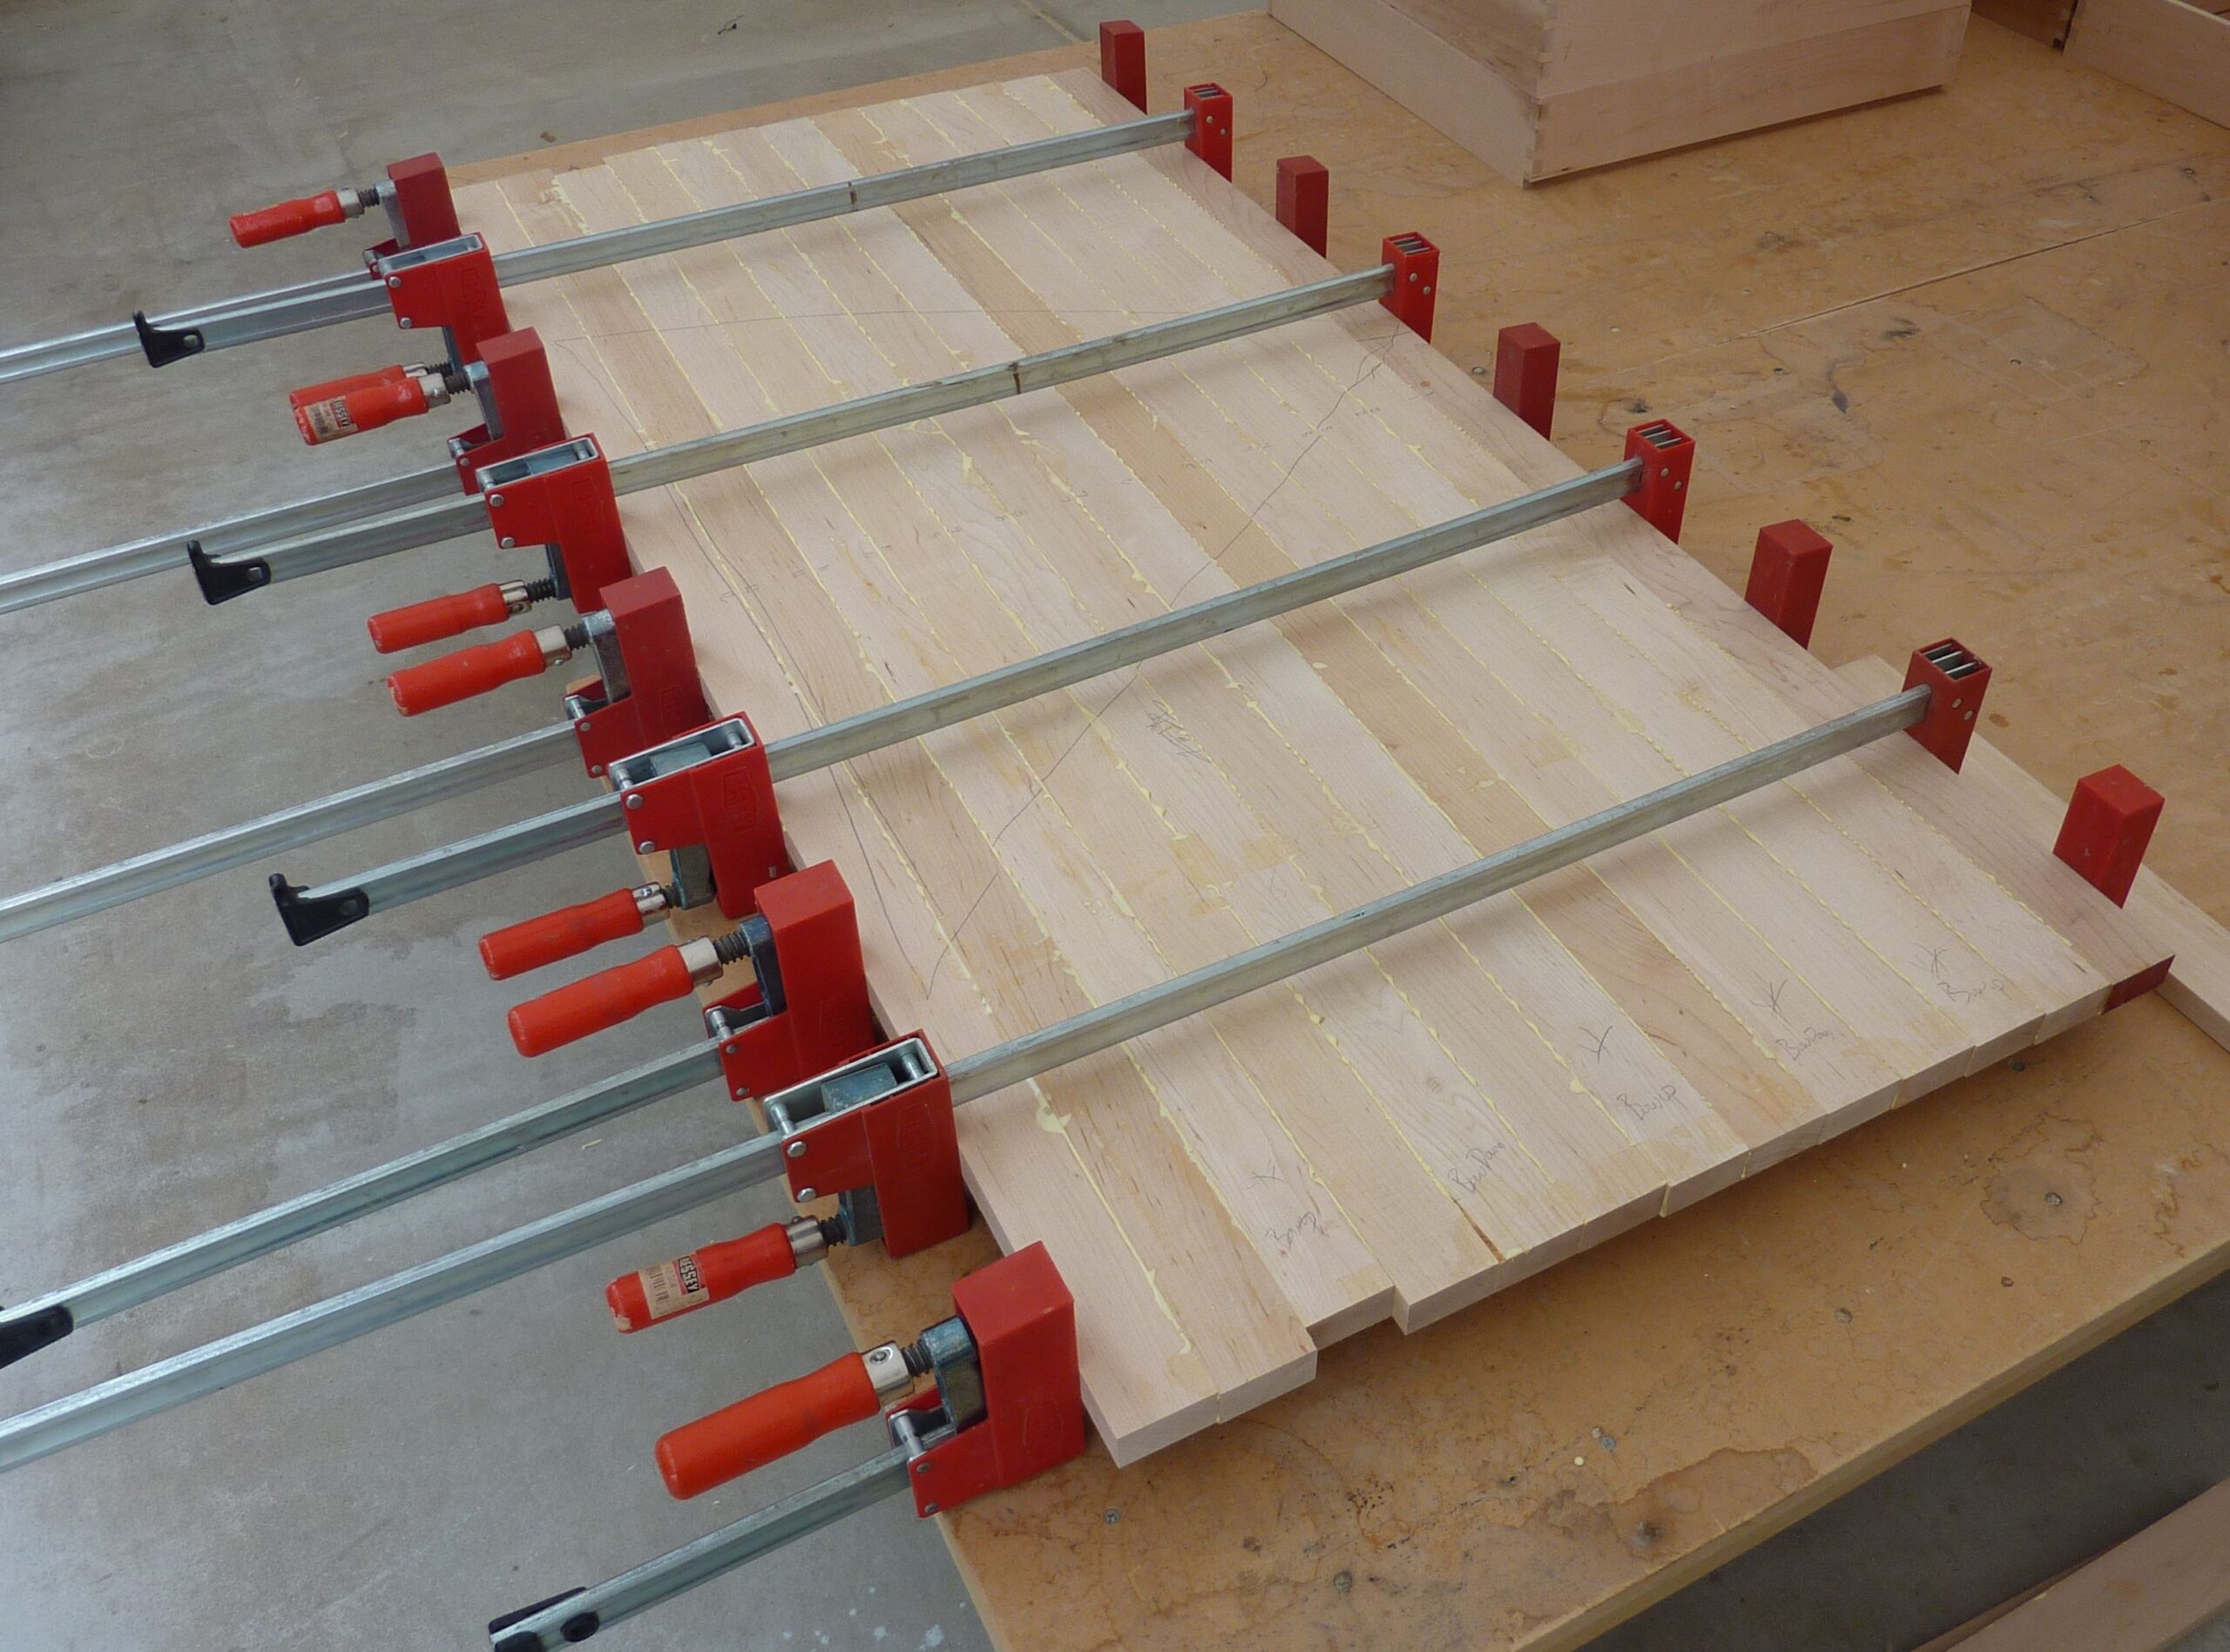
- Rehearse clamping. Arrange cauls and clamps before opening the glue. Confirm that you can close each joint without shifting its position.
- Glue the back and sides to the base and to each other. Add the two rear outer-corner blocks, bonding their bottoms to the base and their adjoining faces to the walls.
- After the first stage can safely be handled, add the front. Glue its bottom and ends, then install the two front corner blocks.
- Install the divider last. Glue its bottom and front/back contact edges. Add the two blocks at its rear junction.
For a specific adhesive example, Titebond Original lists application above 50°F, an open assembly time of 4–6 minutes, and total assembly time of 10–15 minutes at 70°F and 50% relative humidity. Those limits favor staged assembly. Follow the bottle you actually use. (titebond.com)
Titebond’s general guidance recommends 30–60 minutes of clamping for unstressed joints and avoiding stress on new joints for at least 24 hours. Longer handling delays may be needed under different conditions. (titebond.com)

7. Finish, inspect, and maintain it
Once the adhesive permits further work, remove excess glue and lightly ease exposed edges. Sand cautiously: the goal is to remove roughness, not change fitted dimensions or cut through the face veneer.
A finish is optional. For indoor woodwork, appearance and a cleanable surface are important selection considerations. Choose a product labeled for the intended interior use, test it on an offcut, and follow its preparation, ventilation, recoating, and cure instructions. (research.fs.usda.gov)
Before putting stationery inside, check for these common problems:
| Problem | Practical check or correction |
|---|---|
| Front or divider is too short | Recheck actual thickness and opening size; remake the part rather than bridging a gap with glue. |
| Walls lean or shell twists | Rehearse clamping and recheck square during assembly, while adjustment remains possible. |
| Glue reaches decorative surfaces | Remove excess as directed by the adhesive manufacturer before finishing. |
| Contents do not fit | Check usable space around the blocks, not just the nominal compartment dimensions. |
| Base rocks | Inspect for debris, dried glue, or a distorted assembly; correct the cause before use. |
Keep the organizer dry, wipe spills promptly, and lift it from underneath the base rather than by a wall or divider. Inspect joints occasionally. If a joint opens, empty the organizer and repair it before further use.