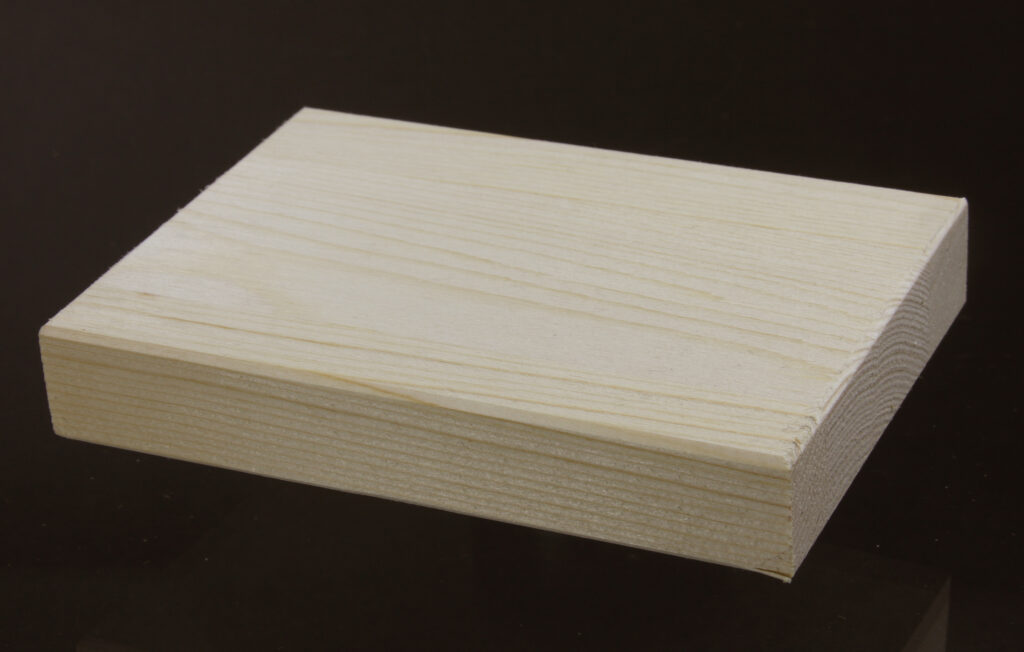
Quick answer: Attach a solid-wood tabletop with connections that hold it down while allowing movement across its grain. Tabletop clips, correctly installed figure-eight fasteners and properly oriented slotted attachments can do this. Do not glue the top to its apron frame or lock its width with screws through tight round holes. The connection must accommodate movement—not merely have hardware labeled “tabletop fastener.” (woodcraft.com)
1. Why a rigidly attached tabletop can split
Wood exchanges moisture with the surrounding air. Under normal furniture-use conditions, gaining moisture causes it to swell; losing moisture causes it to shrink. Movement is much greater across the grain than along it. Along-grain movement is small, not literally zero. (research.fs.usda.gov)
That creates a problem when a broad solid-wood top is fastened rigidly to a frame. The top wants to change width, but the attachment prevents it. Drying can produce cracks; swelling can damage the connection or apron assembly. Adding more rigid screws does not solve that conflict. (woodcraft.com)
An apron is the rail beneath the tabletop, usually connecting the legs. The apron frame and tabletop should remain connected, but the connection should not force their different grain directions to behave as one immovable piece.
Finishing the top is not a substitute for movement allowance. Protective coatings can slow moisture-related dimensional changes, but they do not prevent them. Likewise, using wood conditioned for its intended environment helps reduce problems without removing the need for suitable attachment details. (research.fs.usda.gov)
The practical goal is straightforward: hold the top against the base while leaving a controlled path for seasonal movement.
2. Mark grain direction before choosing hardware
Look at the boards making up the top and mark their lengthwise grain direction on the underside. Then draw a second arrow across the grain. That second arrow identifies the principal direction your attachments must accommodate. This translates the Wood Handbook’s directional movement guidance into a useful layout check. (research.fs.usda.gov)
For a conventional top made from edge-glued boards, the relevant cross-grain width is the width of the assembled panel—not just the width of one board.
Before buying hardware, record:
- Whether the top is solid wood or a veneered panel.
- Its actual thickness at the attachment locations.
- Which frame members are accessible.
- Whether an apron groove, shallow recess or through-slot is practical.
- Where legs, corner blocks and other fittings could obstruct movement.
Do not choose an allowance from tabletop width alone. Species, grain orientation and the expected moisture-content change matter. The Wood Handbook provides methods for estimating dimensional changes; without those inputs, an exact seasonal movement figure would be a guess. (research.fs.usda.gov)
For preparation, aim to bring the wood toward the conditions it will experience in service. There is no single moisture-content target suitable for every home and climate. Use a moisture meter according to its instructions rather than treating a fixed waiting period as proof that the top is ready. (research.fs.usda.gov)

3. Tabletop clips: allow sliding without losing engagement
A groove-mounted tabletop clip has one end screwed to the underside of the top and another end engaged in a groove in the apron. The connection holds the top down while allowing the unscrewed end to move within the groove. (rockler.com)
Use the installation instructions for the exact clip you have. Groove width, depth and height are not interchangeable between products.
For example, Rockler’s instructions for item 34215 specify a groove 3/32 inch wide and 5/16 inch deep, positioned 7/16 inch down from the apron’s top. Its solid-wood installation also specifies using only the two frame sides shown in its grain-direction diagram. Those are product-specific details, not a universal recipe for every Z-shaped clip. (go.rockler.com)
Check two kinds of clearance:
- Along the groove: the clip must not immediately hit a leg, corner block or the end of a short groove.
- Into or out of the groove: where movement changes insertion depth, the clip must neither bottom out during expansion nor lose engagement during contraction.
Which clearance matters depends on the apron’s orientation relative to the top. Woodcraft’s installation guidance explicitly distinguishes side-apron and end-apron clip placement. (woodcraft.com)
Limitation: A clip can only work within the travel and engagement its groove provides. A shallow or obstructed groove can turn movement-friendly hardware into a rigid restraint.
4. Figure-eight fasteners: leave room for the pivot
A figure-eight fastener connects the apron and tabletop with a screw at each end. Its movement allowance comes from a small pivoting action, rather than a long sliding slot. That makes recess clearance and orientation important. (woodcraft.com)
The apron end normally sits in a shallow recess so the hardware does not hold the tabletop unnecessarily above the frame. Follow the manufacturer’s specified recess and screw-head details.
Osborne’s instructions for its part 929 place the larger end in a recess near the apron edge, with part of that end projecting beyond the edge. They also warn against overtightening the tabletop screws so that movement remains possible. (assets.osbornewood.com)
Before attaching the top, check that each fastener can turn through its intended arc without its edge contacting the recess wall or nearby hardware. A close-fitting circular pocket that traps the fastener defeats the mechanism.
Limitation: Figure-eight fasteners have finite swing. They are not automatically suitable for every wide top. Woodcraft’s guidance cautions against using its illustrated arrangement for tops wider than about 18 inches because of limited pivot travel. Treat that as a caution about the illustrated setup, not a universal rating for every figure-eight product. Verify the hardware and layout you intend to use. (woodcraft.com)
5. Slotted attachments: orient the travel across the grain
A slotted connection lets a screw attached to the tabletop move relative to the base. The elongated clearance belongs in the frame, cleat or appropriate mounting hardware; the screw still needs a suitable pilot hole and sound purchase in the top.
The essential orientation rule is:
The slot’s long direction must follow the tabletop’s cross-grain movement direction.
Veritas’s expansion-washer instructions show the washer orientation matching the wood-movement arrow. They describe recessed, slotted washers installed in table skirts or frames. (assets.contentstack.io)
For that system:
- Provide the specified supporting ledge and clearance slot.
- Use a screw with a flat underside beneath its head.
- Keep the washer within the manufacturer’s specified distance from the tabletop.
- Check that the screw can travel without catching the slot edges.
Veritas warns that tapered undersides on flat-head or oval-head screws will not slide as freely. It also recommends locating its washer no more than 1 inch from the tabletop surface to avoid undue bending stress on the screw. These details apply to that washer system. (assets.contentstack.io)
Do not overtighten a movement connection into an immovable clamp. Equally, do not leave the top rattling or unsecured. Follow the hardware’s tightening guidance and confirm that it is retained while its intended movement mechanism remains available. Osborne’s slotted-hardware guidance makes the same distinction between a snug fit and maximum tightening. (osbornewood.com)
Limitation: A slot is useful only if the screw has sufficient remaining travel. Its full length is not the same as usable movement allowance.
6. Worked layout example: a small side-table top versus plywood
Osborne’s published figure-eight example uses a 26-by-20-inch tabletop. It places one fastener at the middle of each short side and two along each long side: six attachment positions. This is a manufacturer’s example, not a universal fastener count. (assets.osbornewood.com)
To turn those dimensions into a movement-aware planning exercise:
- Identify the grain. If the boards run along the 26-inch dimension, mark that direction on the underside.
- Identify the moving width. In that orientation, the 20-inch dimension is across the grain.
- Sketch the attachment locations. Check the proposed fasteners against legs, corner blocks and recess edges.
- Verify travel. Do not assume that a published placement pattern establishes enough pivot travel for your species and environment.
- Choose a different mechanism if needed. A suitable clip or slotted system may offer a clearer movement path than a constrained pivot.
The grain assumption above is part of this planning exercise; Osborne’s written instructions do not establish the top’s species, moisture range or seasonal movement. The example therefore cannot supply a verified movement allowance.
Now consider a plywood top of the same outline. Plywood’s alternating veneer directions reduce shrinkage and swelling compared with solid wood. However, plywood still responds to moisture; “more stable” does not mean “never moves.” (apawood.org)
Rockler permits its tabletop clips on all frame sides for a plywood top. That illustrates why attachment instructions can differ by material. Still check panel thickness, screw penetration and product suitability rather than copying a solid-wood or plywood arrangement indiscriminately. (go.rockler.com)
7. Practical checks before and after assembly
Before final fastening, work through this checklist:
- No hidden rigid restraint: Check for glue, tight round-hole brackets or other attachments that bypass the movement-friendly hardware.
- Correct travel direction: Follow the cross-grain arrow through every connection.
- Clear movement path: Check groove ends, recess walls, slot edges and nearby fittings.
- Safe penetration: Confirm that neither pilot holes nor screw tips will reach the finished face.
- Appropriate screws: Match the hardware’s required head shape, diameter and length.
- Suitable tool setup: Follow the tool manual, retain required guards, secure the work and use appropriate eye protection and dust control.
These checks bring together the movement and installation requirements in the cited hardware instructions; they are not a substitute for reading those instructions in full. (go.rockler.com)
After assembly, inspect rather than force the top sideways. A properly retained tabletop may not move noticeably by hand. Confirm that its intended sliding or pivoting path remains unobstructed.
If a gap, crack or distorted connection appears later, do not immediately add screws or tighten every fitting. First review whether the top’s movement has reached a stop or been restrained elsewhere. Seasonal moisture changes remain relevant after installation, even on finished furniture. (research.fs.usda.gov)
The final test is not how many fasteners you used. It is whether the entire attachment arrangement holds the top securely without locking its cross-grain width.