Before you cut or sand: Secure the workpiece, check guards and accessories, inspect the tool, connect suitable dust collection, clear your footing and put on task-appropriate protection. Do not start if a guard sticks, the work shifts, an accessory is damaged or you cannot maintain control. These checks complement—not replace—the tool’s instructions and training. (osha.gov)
Use this checklist before each new setup, not just at the beginning of a project. Changing the workpiece, moving a clamp or attaching a dust hose changes what you need to inspect.
OSHA’s woodworking resources address occupational hazards and employer responsibilities. Here, they inform practical home-workshop precautions, not a claim that every workplace requirement applies identically to hobby woodworking. OSHA’s coverage is principally employment-based; its eTools also explain that they do not replace applicable standards. (osha.gov)
1. Clear the workspace and plan the whole operation
Before bringing the tool to the wood, identify where you will stand, how you will reach the end of the operation and where the stopped tool will go.
Check that:
- The work area is well lit.
- Your floor and footing are clear of scraps and slippery debris.
- Cords and hoses will stay clear of moving parts and your working position.
- Children and bystanders are outside the working area.
- The operation is separated from flammable liquids, fumes and ignition sources. (media.cdn.festool.io)
In a cramped workspace, ask a concrete question: Can I complete this operation without stepping over something, stretching awkwardly or moving a support midway through? If not, revise the layout before starting.
Include cleanup in the plan. OSHA identifies dust buildup as a fire concern and advises against blowing accumulated woodworking dust around with compressed air. Use suitable collection and cleaning methods instead of turning settled dust into an airborne cloud. (osha.gov)
Common mistake: Checking that the tool fits on the bench but overlooking the space needed for your body, the workpiece and the hose.
2. Secure the wood and check underneath it
A workpiece resting on a bench is not necessarily secured. OSHA’s portable-tool guidance recommends clamps or a vise so the operator’s hands remain available to control the tool. (osha.gov)
With the tool disconnected, check the setup:
- Does the workpiece rock or slide?
- Can a clamp interfere with the tool’s path?
- Is there clear space beneath a saw cut?
- What will happen to each piece when the cut finishes?
- Will you need to reach underneath or catch a moving offcut?
These are planning questions, not a universal support arrangement. Follow the support diagrams for your particular saw and operation.
For example, Bosch’s GKS18V-25C manual explains that sagging panels can pinch the blade and contribute to kickback. It specifies support on both sides of a large-panel cut, near the cutting line and panel edges. It also prohibits holding the work in your hands or across your leg. (ocsmedia.boschtools.com)
For sanding, secure the panel so it cannot move under the tool. The Festool ETS 125 REQ instructions explicitly require this. (media.cdn.festool.io)
Practical check: Resolve movement or clearance problems now, rather than planning to steady the wood with a spare hand.
3. Confirm that guards and controls work properly
Use equipment only with its required guards and safety devices in place and functioning. OSHA’s woodworking guidance treats a faulty guard or other safety device as a reason not to operate the equipment. (osha.gov)
A conventional portable circular saw has an upper blade guard and a retractable lower guard. Do not remove a guard to improve visibility or make an awkward setup work. (osha.gov)
For a spring-return lower guard, carry out the inspection described in the saw’s manual while power is disconnected. Bosch’s instructions require free movement and immediate closing before use; a sticking guard or faulty spring needs attention before cutting. Never tie or clamp it open. (ocsmedia.boschtools.com)
Also check that the trigger or switch can control the tool normally. If a switch fails to turn a tool on and off reliably, take the tool out of use rather than improvising another control method. (media.cdn.festool.io)
Common mistake: Assuming a guard is satisfactory because it is still attached. Function matters as much as presence.
4. Inspect the tool, blade or sanding accessory
Disconnect the power supply—or remove the detachable battery—before adjustments, accessory changes and maintenance. Merely leaving your finger off the trigger is not the same precaution. (osha.gov)
Inspect the parts relevant to the task:
| Check | Do not proceed when… |
|---|---|
| Blade or cutter | It is cracked, damaged or unsuitable for the material |
| Guard and safety devices | They are missing, damaged or not functioning |
| Cord and plug | There is visible damage |
| Sanding pad | Its foam or attachment surface is deteriorating |
| Handles | They are slippery or prevent a secure grip |
Sharp, properly maintained cutting equipment and intact electrical components are recurring requirements in OSHA and manufacturer guidance. The ETS 125 REQ manual also calls for checking pad wear and warns that weakened attachment can allow sanding accessories to come loose. (osha.gov)
Remove adjustment keys and wrenches before energizing the tool. For replacement accessories, verify compatibility in the exact model’s instructions rather than relying on appearance alone. (media.cdn.festool.io)
Practical check: Put a questionable tool aside clearly marked “Do not use” until the fault is resolved. (osha.gov)
5. Check dust collection as a complete system
OSHA identifies local exhaust ventilation—collection at or near the source—as the primary engineering method for controlling wood dust. It also stresses inspection and maintenance of collection equipment and connections. (osha.gov)
Before starting:
- Confirm that the collector is suitable for the material and operation.
- Check the tool connection and hose for damage or obstruction.
- Install the specified filter and collection bag.
- Confirm that collection operates in the intended mode.
- Arrange the hose without interfering with tool movement.
Use the extractor’s manual, not a generic assumption about shop vacuums. For example, the Festool CT 15/CT 25 instructions require a filter bag for dry collection and prohibit operation with a missing or damaged main filter. They also prohibit collecting sparks, glowing particles and specified incompatible materials. (media.cdn.festool.io)
One easily missed detail: those instructions say the extractor’s tool outlet remains live while the extractor is connected to mains power. Disconnect the tool itself before changing its accessory; switching the extractor off is insufficient. (media.cdn.festool.io)
Common mistake: Treating a connected hose as proof that collection is working. Check the connection, filter, bag and operating mode separately.
6. Fit protective equipment without creating another hazard
Choose protection for the task, then check that the items work together.
Eyes: Wear suitable protective eyewear for cutting and sanding. Ordinary prescription glasses are not a substitute for purpose-designed eye protection. (osha.gov)
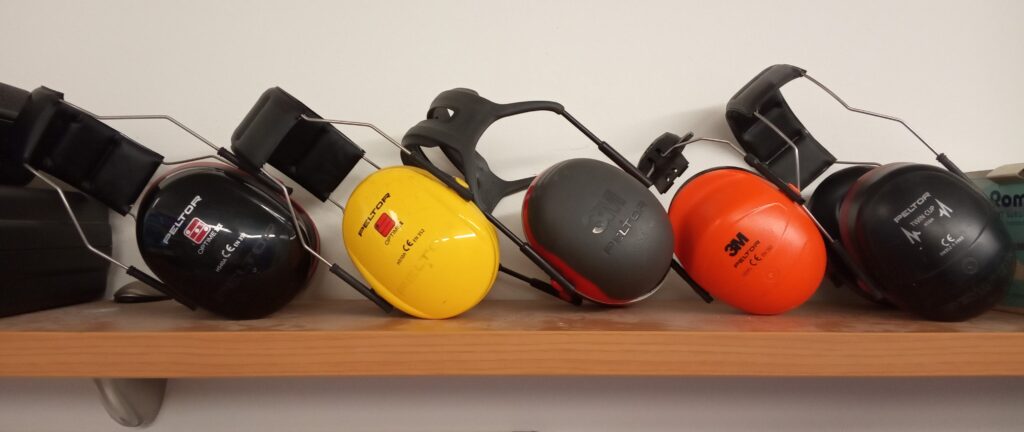
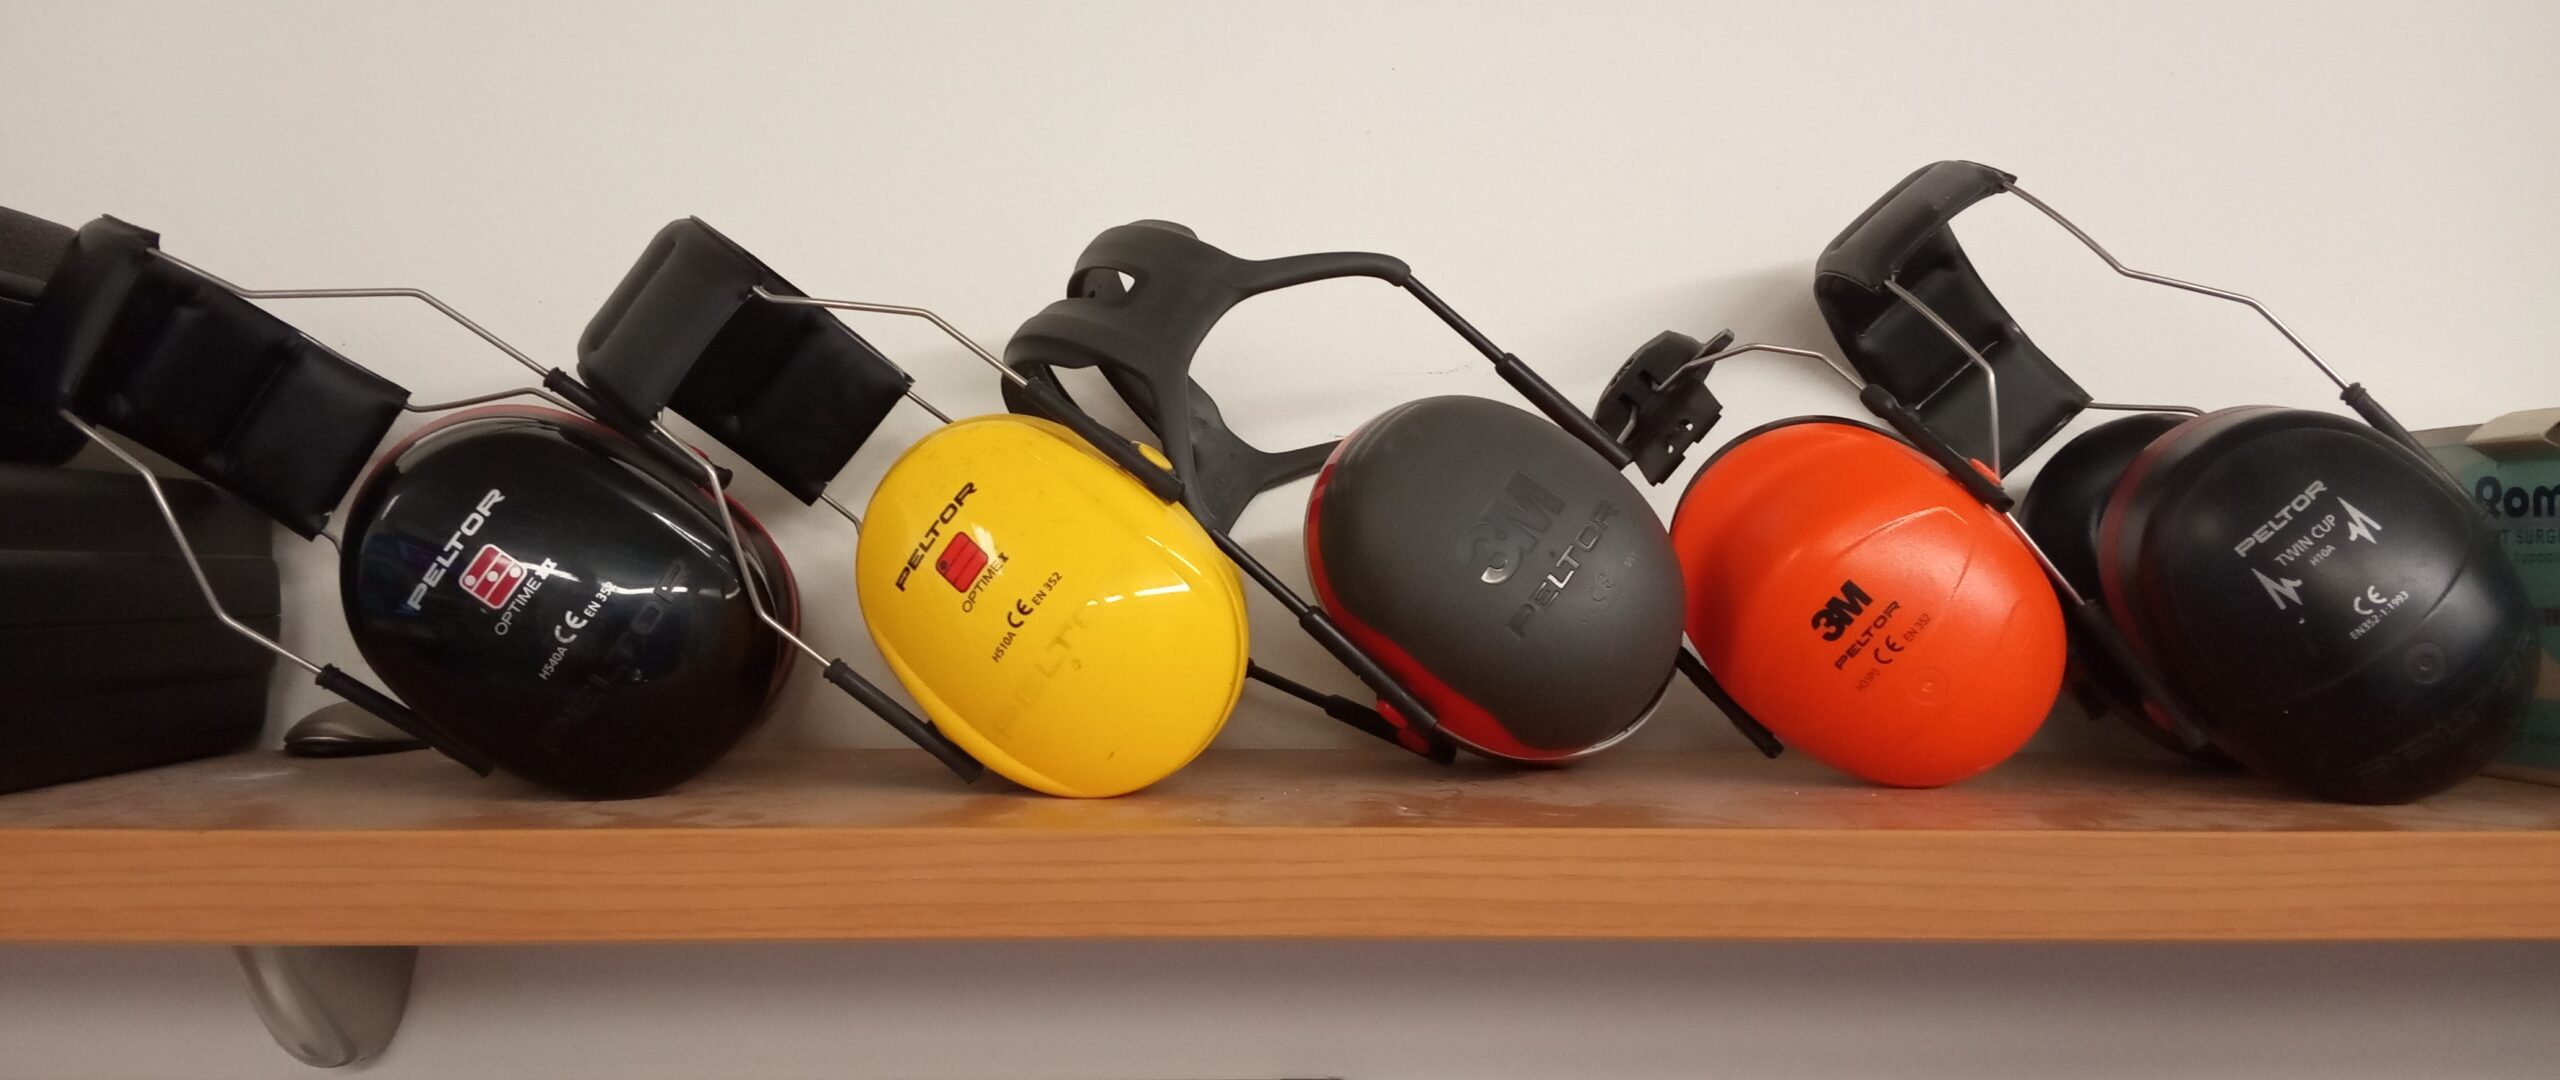
Hearing: Use appropriate hearing protection for noisy operations and follow its fitting instructions. Check compatibility with eyewear and respirators. NIOSH notes that earmuffs can interfere with other protective equipment and that ordinary noise-cancelling headphones are not hearing protection unless labeled with a noise reduction rating. (cdc.gov)
Breathing: Where respiratory protection is needed, use a respirator suitable for the hazard. Follow the manufacturer’s user-seal-check instructions each time you put on a tight-fitting filtering facepiece. A seal check is not a substitute for fit testing, and facial hair must not interfere with the sealing surface. (cdc.gov)
Clothing and hands: Secure loose clothing, jewelry and long hair. Do not treat gloves as automatic protection around moving woodworking machinery: OSHA’s woodworking guide warns that they can become caught, and no glove protects against direct contact with most powered cutting surfaces. Handling rough stock and handling chemicals are separate tasks requiring their own protection choices. (media.cdn.festool.io)
This checklist cannot determine a universally adequate respirator or hearing-protection rating for an unmeasured workspace.

7. Worked example: prepare a portable circular-saw cut
Suppose you want to make a straight cut across a bare wooden panel. This is a setup example, not a complete cutting lesson.
- Identify the saw and instructions. Find its support diagrams, depth-setting procedure and required accessories.
- Disconnect power and inspect. Check the blade, guard and adjustment locks.
- Secure and support the panel. Keep supports and clamps outside the blade path.
- Check the complete route. Include cord or hose movement and your finishing position.
- Fit protection and confirm collection. Keep bystanders clear.
For the Bosch GKS18V-25C, use both handles and keep your body out of line with the blade. If binding occurs, release the trigger and hold the saw motionless until the blade stops; do not pull it backward while spinning. (ocsmedia.boschtools.com)
The useful outcome of the rehearsal is a decision: proceed, revise the setup or stop. A failed check is not something to compensate for by cutting more carefully.
8. Worked example: prepare to sand a small panel
For a first setup check, consider a dry, bare-wood panel rather than an object with an unidentified coating. The ETS 125 REQ manual warns that sanding some coatings and woods can produce harmful dust. Do not assume the same controls suit every material. (media.cdn.festool.io)
With the sander disconnected:
- Secure the panel against movement.
- Inspect the pad and fit the correct abrasive securely.
- Connect suitable extraction and route its hose.
- Fit eye, hearing and appropriate respiratory protection.
- Confirm the operating instructions before reconnecting power.
For the ETS 125 REQ, the manufacturer specifies dry sanding and moderate pressure rather than forcing the tool. If the abrasive comes loose, the work shifts or extraction stops, stop and correct the problem before continuing. (media.cdn.festool.io)
Finish by cleaning collected debris with suitable equipment, not compressed-air blowdown. Before the next operation, repeat the checks affected by any change in tool, material or layout. (osha.gov)